For the longest time, I just accepted that our house had what people called “hard water.” It was one of those background annoyances you learn to live with.
Our drinking glasses came out of the dishwasher with a cloudy film, and no matter how much I scrubbed, the shower doors had these white, crusty streaks. My skin always felt a little tight after a shower, and it seemed like I was constantly buying more dish soap and body wash because it never felt like it lathered properly.
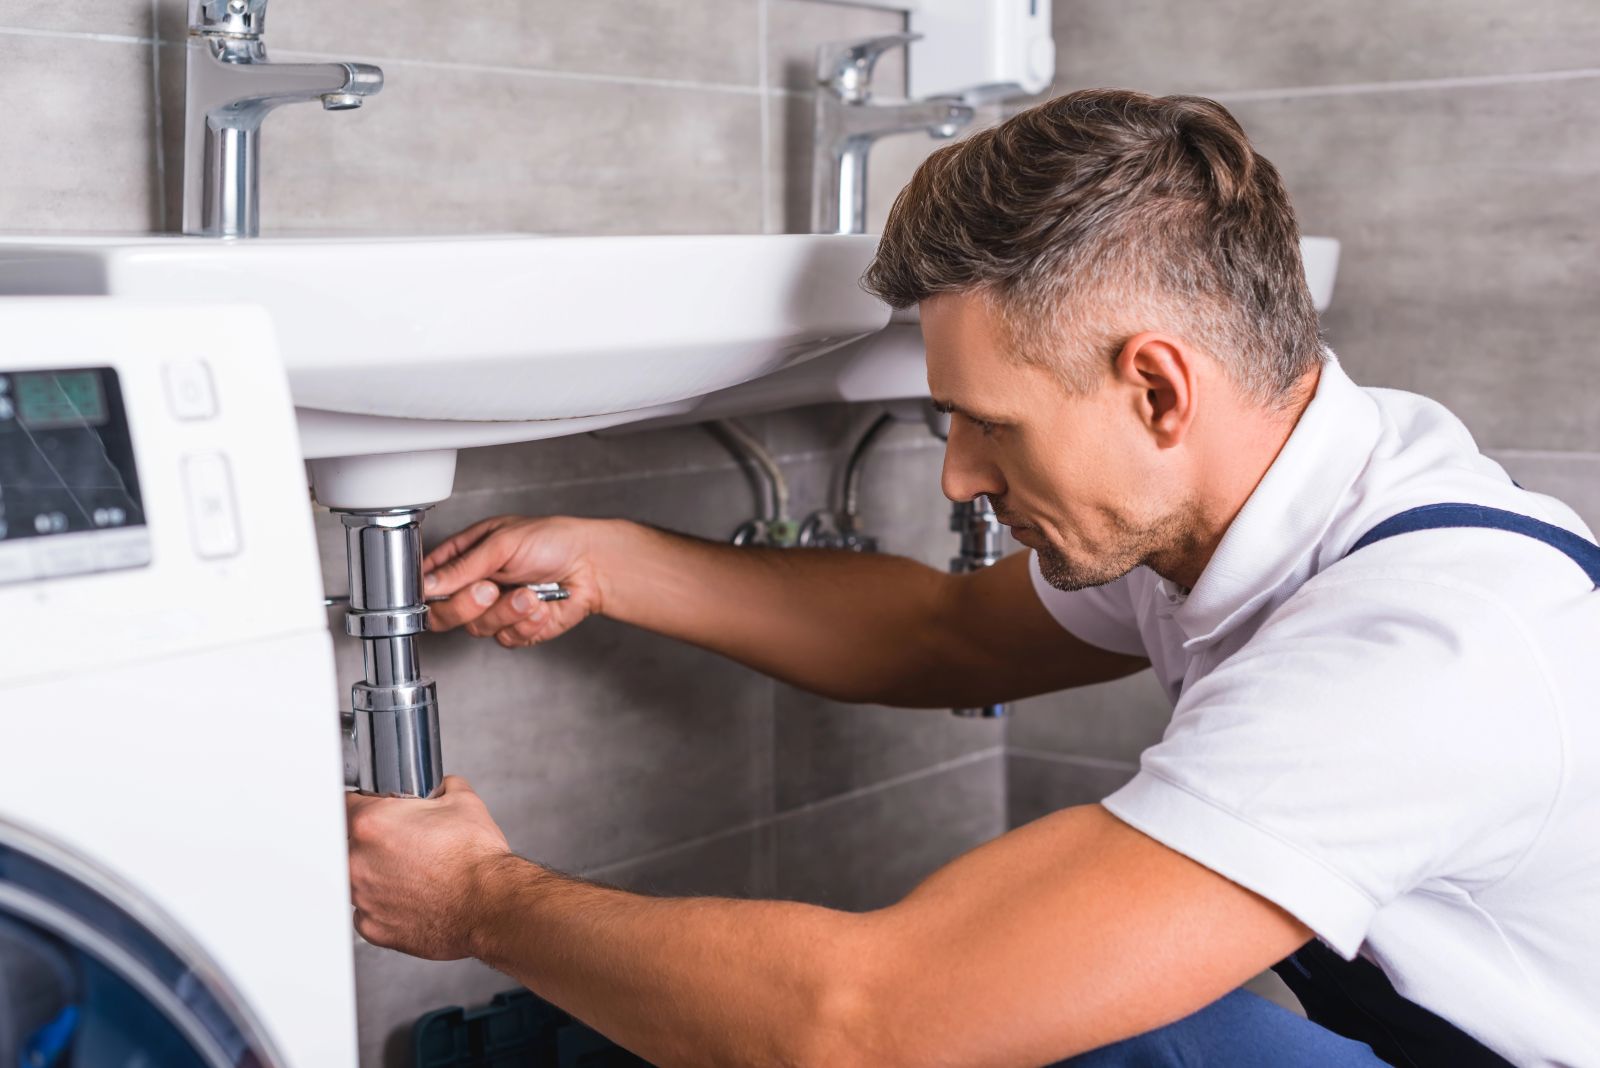
The turning point came when our water heater started failing. The plumber who came to look at it pulled out a long, crusty rod of mineral build up from the tank. He told me this scale was the direct result of our hard water, and it was slowly destroying our appliances and clogging our pipes.
That was the moment I stopped seeing hard water as a minor nuisance and started seeing it as a real problem for our home. I decided to look into getting a water softener.
The whole process felt daunting at first. There’s a lot of information out there, and a lot of it is technical and confusing. After going through it myself, I wanted to write down what I learned in plain language, from one regular homeowner to another.
The First Step: Understanding What You’re Up Against
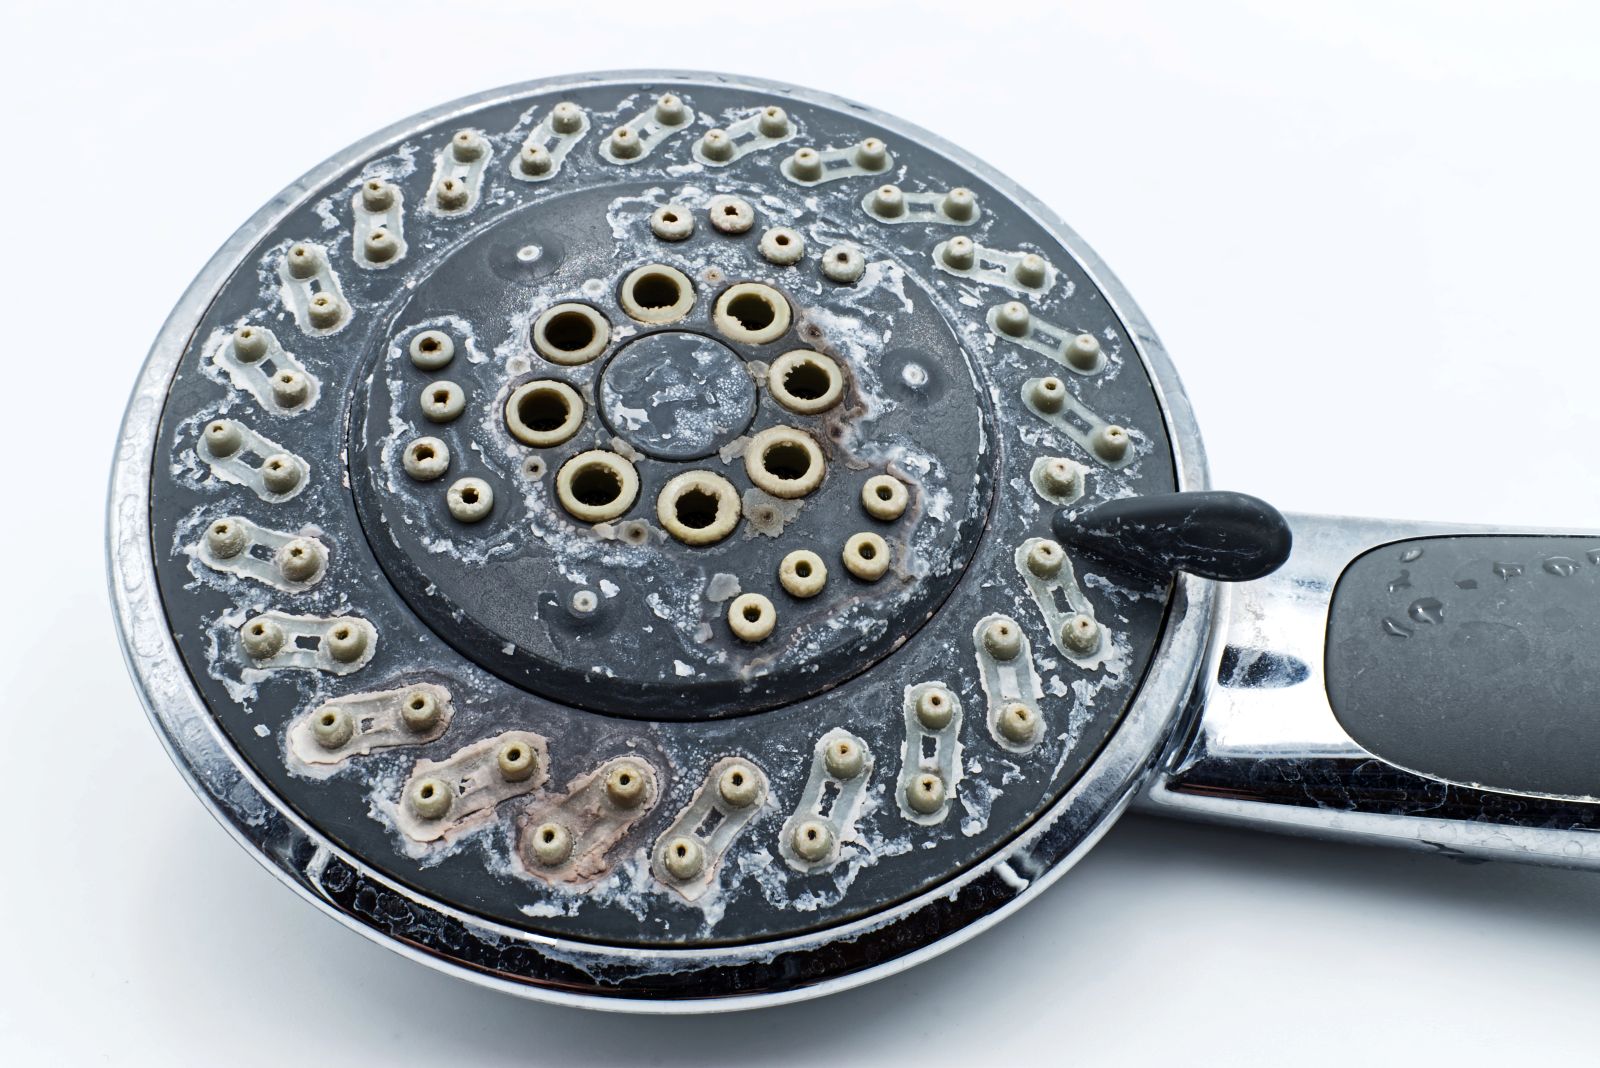
Before you can fix the problem, you need to know how big it is. Hard water is simply water that has a high concentration of dissolved minerals, primarily calcium and magnesium. As it flows through your pipes and appliances, these minerals solidify into scale, the same chalky stuff you see on faucets.
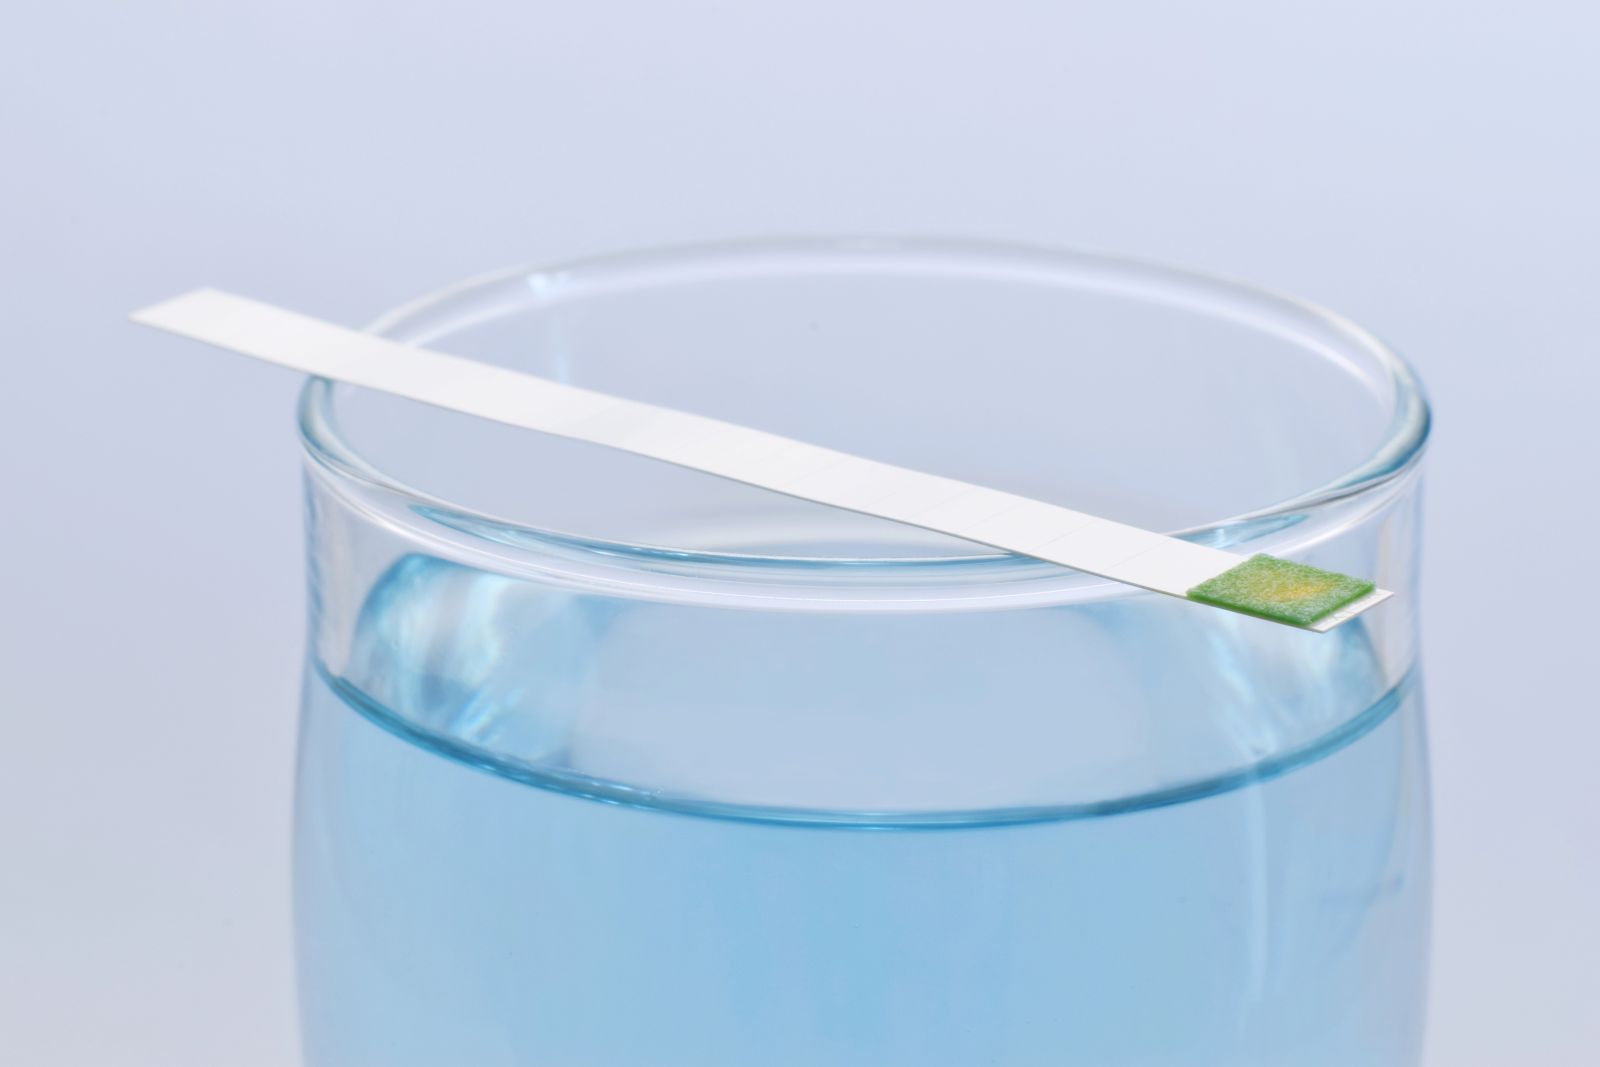
To find out how hard your water is, you have a couple of options. You can buy a simple test strip kit from a hardware store or online. It’s a little piece of paper you dip in a glass of water from your tap, and it changes colour to show the hardness level.
For a more precise reading, you can often get a free water test from a local water treatment company. I did both, just to be sure. The results confirmed our water was very hard, which gave me the concrete evidence I needed to move forward.
Choosing the Right System: It’s Not One-Size-Fits-All
Once I knew we needed a softener, I had to figure out which one to buy. This is where it can get overwhelming.
The most common and effective type for a whole house is a salt-based ion exchange system. Here’s a simple way to understand how it works:
The unit is filled with tiny resin beads that are coated with sodium ions. As hard water flows through the tank, the beads grab onto the calcium and magnesium minerals like a magnet, and in exchange, they release the sodium ions into the water. This “swap” is what makes the water soft.
Every so often, the system has to clean itself. This is called the regeneration cycle. It flushes the trapped minerals off the beads with a salty brine solution and sends them down a drainpipe. This is why you have to keep the unit stocked with salt pellets.
When shopping, you’ll see two main numbers: grain capacity and flow rate.
The grain capacity is like the size of the softener’s gas tank—it tells you how much hardness it can remove before it needs to regenerate. The flow rate is how much soft water it can deliver at once.
You need to make sure it can handle someone taking a shower while the dishwasher is running. I found a helpful online calculator that factored in our water hardness, the number of people in our house, and the number of bathrooms to recommend a grain capacity. Getting the right size is crucial for a successful water softener installation.
The Installation Day: DIY or Call a Pro?
This was the big question for me. I’m fairly handy; I can fix a leaky faucet or install a new light fixture. But a water softener involves plumbing, electrical for the control unit, and potentially cutting into your main water line. I watched a few video tutorials and decided that for me, the risk of causing a major leak was too high. I hired a professional.
Watching the pros do it, however, demystified the whole process. Here’s essentially what a standard water softener installation involves, whether you do it yourself or hire it out.
- First, they need to find the right spot. The softener needs to be installed on your main water line, before it splits off to the hot water heater. This ensures every tap in the house gets soft water. It also needs to be near a drain for the regeneration cycle and an electrical outlet for the control panel. Our installer put it in the garage, right next to the water heater.
- The core of the job is plumbing. They shut off the main water supply to the house and drained the pipes. Then, they cut into the main copper water line and installed a bypass valve. This valve is a genius little feature—it lets you temporarily bypass the softener if it ever needs service, so your house still has water. They connected the inlet and outlet pipes to this bypass valve.
- Next came the drain line. They ran a flexible hose from the softener unit to a nearby floor drain. This hose is critical because it carries away the salty wastewater during regeneration. They made sure to leave an “air gap,” which is just a loop of pipe that prevents any dirty drain water from accidentally siphoning back into your clean softener.
- Finally, they connected the brine tank (where the salt goes) to the mineral tank with a small tube, plugged in the control head, and programmed the unit based on our water hardness test results. They turned the main water back on, checked for leaks, and initiated a first regeneration cycle to get everything started.
Life After Installation: Was It Worth It?
The changes weren’t instantaneous, but within a week, the differences were impossible to ignore. The first thing I noticed was in the shower. The water felt different—almost silkier. My skin didn’t feel dry and itchy anymore, and my hair felt cleaner. Our soap now lathers into a rich foam with just a tiny amount.
A few days later, I ran the dishwasher and pulled out a load of glasses. They were perfectly clear and spotless for the first time in years. It was a small thing, but it felt like a major victory. The white scale on our shower doors has stopped building up, and what’s there already wipes away easily.
The real test will be long-term. I’m confident we’re now protecting our water heater, dishwasher, and washing machine from the scale that was shortening their lives. We’re using less soap, less shampoo, and less energy to heat water. While the upfront cost of the unit and the professional water softener installation was significant, I see it as an investment that will pay for itself over time in appliance longevity and reduced soap usage.
If you’re on the fence about it, my advice is to start with a water test. Knowing your exact situation makes the decision much clearer. For us, it was one of the best home improvement decisions we’ve made. It’s solved a dozen small, daily annoyances and given us peace of mind that we’re taking care of our house’s plumbing. It’s one of those upgrades you don’t really think about until you have it, and then you wonder how you ever lived without it.